Simple camera operations can be used to automatically upload pictures to the destination whenever the computer is running.
Before proceeding:
Before uploading pictures, be sure the camera battery is fully charged.
If the battery is exhausted before upload is complete, any pictures already uploaded to the computer will be saved. The remaining pictures can be uploaded after the battery is recharged.
Do not turn the camera off or remove the memory card or battery while upload is in progress.
Files over 4 GB in size cannot be downloaded.
TIFF files cannot be downloaded.
If a memory card is inserted in the camera, pictures will be uploaded from the memory card; otherwise, pictures will be uploaded from internal memory.
Start the computer and click the ![]() icon in the taskbar (Windows) or menu bar (macOS/OS X/Mac OS X).
icon in the taskbar (Windows) or menu bar (macOS/OS X/Mac OS X).
![]()
![]()
The position of the Wi-Fi (![]() ) button differs depending on the camera.
) button differs depending on the camera.
A list of destinations will be displayed.
The camera connects automatically.

The camera will display a confirmation dialog. Press ![]() to begin upload.
to begin upload.

If you have renamed the camera using the camera menus, you will need to repeat the steps described in Section 2, “Viewing Network and Destination Folder Options”.
During upload, the camera LCD monitor will turn off and the indicator lamp will blink.
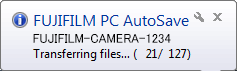
During upload, the computer will display a message in the desktop taskbar (Windows) or menu bar (macOS/OS X/Mac OS X).
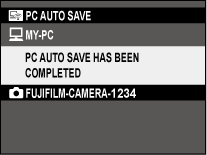
The camera will turn off automatically shortly after upload is completed.
More information is available from the following links.