Uploading Files via FTP
You can connect the camera to an existing FTP server and upload pictures via FTP.
- Connecting to FTP Servers
- Adjusting Settings for Connection to FTP Servers
- Uploading Pictures to FTP Servers
Connecting to FTP Servers
Connecting via Wireless LAN
Connect to an FTP server via wireless LAN.
-
Select CREATE/EDIT CONNECTION SETTING > CREATE USING WIZARD in the network/USB setting menu and choose FTP TRANSFER.
-
Select CREATE NEW.
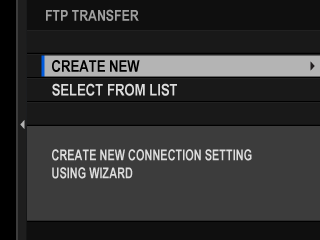
Choose SELECT FROM LIST to select from a list of existing connection setting profiles.
-
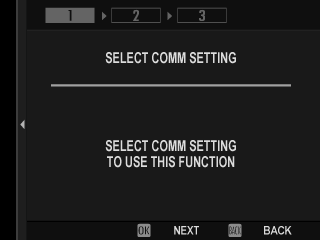
Press MENU/OK when prompted.
-
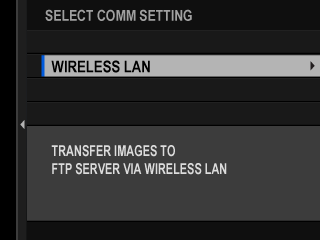
Select WIRELESS LAN.
-
Select CREATE NEW to create a new communication setting profile.
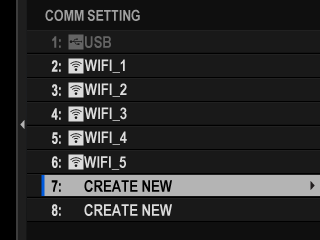
You can also select or edit existing profiles.
-
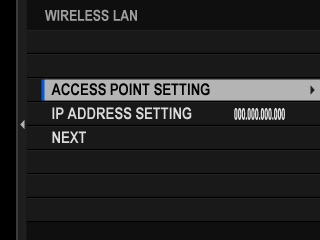
Adjust wireless LAN settings.
- ACCESS POINT SETTING: See “aSimple Access Point Connections”.
- IP ADDRESS SETTING: See “aConnecting Using an IP Address”.
-
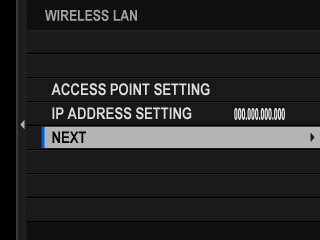
After adjusting wireless LAN settings, select NEXT.
-
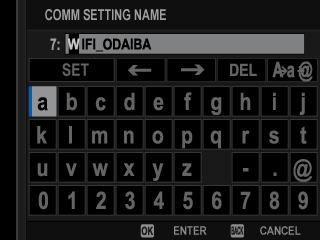
Name the communication setting profile.
-
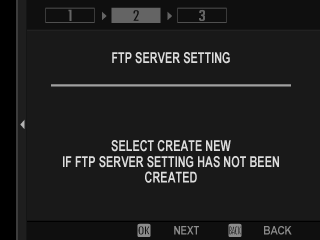
When prompted, press MENU/OK and adjust settings for connection to the FTP server (aAdjusting Settings for Connection to FTP Servers).
-
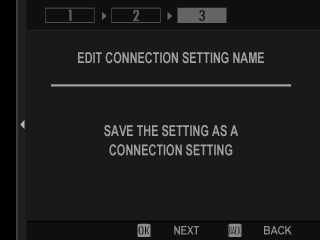
Save the connection setting profile when adjustments to settings are complete.
Press MENU/OK.
-
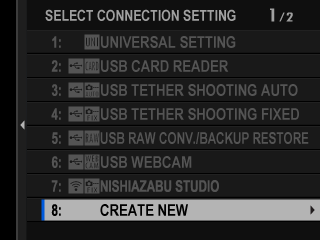
Select CREATE NEW.
-
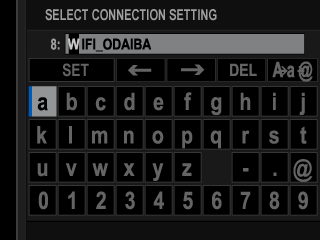
Name the connection setting profile.
-
Select OK to test the connection.
When a prompt is displayed stating that the test was successful, press MENU/OK.
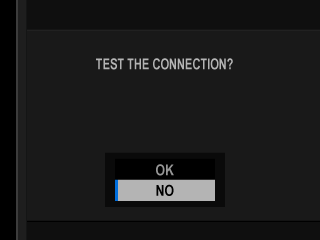
If the test ends in failure, check the communication setting profile and network settings.
-
Choose SELECT to finish creating the connection setting profile.
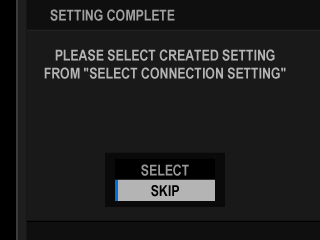
The connection setting profile can also be selected later using SELECT CONNECTION SETTING.
-
Upload pictures to the FTP server (aUploading Pictures to FTP Servers).
Adjusting Settings for Connection to FTP Servers
Adjust settings for connection to the destination FTP server.
-
Select CREATE NEW in the FTP server settings display.
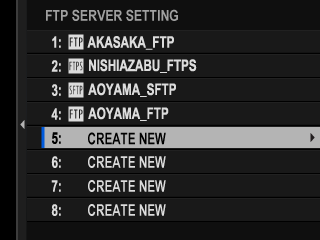
You can also select or edit existing settings.
-
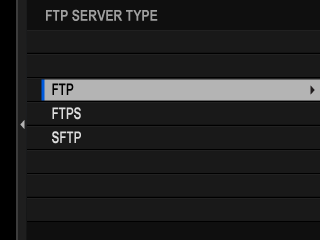
Choose an FTP server type.
-
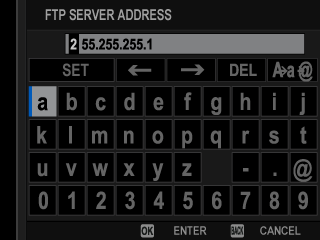
Enter the FTP server address.
-
Enter the FTP server port number.
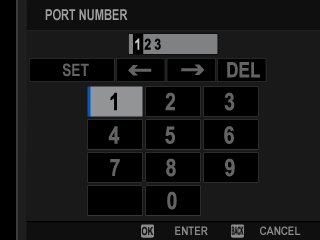
-
Choose whether to use a proxy server.
In this case we’ll choose DISABLE.
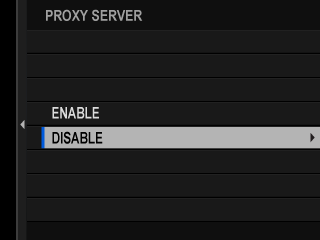
Choose ENABLE to enter the address and port number for a proxy server.
-
Choose whether to enable PASV mode.
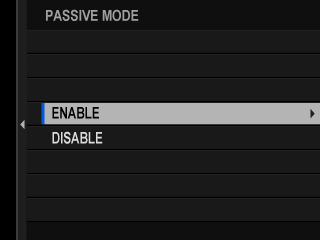
-
Select USER NAME & PASSWORD.
Enter the user name and password used for login to the FTP server.
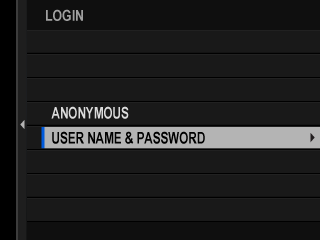
For connection to servers that do not require a user name and password, select ANONYMOUS.
Selecting FTPS for FTP SERVER TYPE lets you choose the authentication method. If desired, you can load a self-signed root certificate using FTP OPTIONAL SETTING > ROOT CERTIFICATE.
-
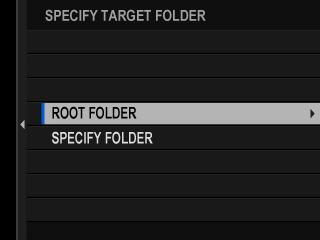
Choose the destination folder.
- Choose ROOT FOLDER to upload pictures to the server’s root directory.
- To select a different folder, choose SPECIFY FOLDER.
-
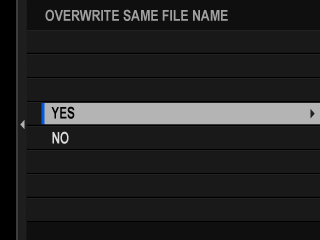
Choose the procedure used when the destination contains files with the same names as the pictures selected for upload.
- Select YES to overwrite the existing files.
- Select NO to rename the uploaded files by adding numbers at the ends of the file names (e.g., “DSCF0001_(0).JPG”).
-
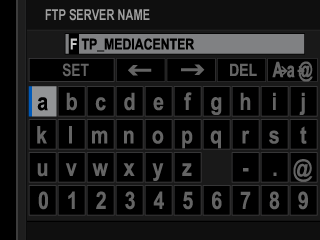
Name the FTP server settings.
The chosen name will appear in the FTP server list.
Uploading Pictures to FTP Servers
Select pictures for upload to an FTP server.
- Selecting Pictures for Upload Using FTP OPTIONAL SETTING
- Uploading Pictures as They Are Taken
- Selecting Pictures for Upload During Playback
Images are not transferred when the camera is in video shooting mode.
Selecting Pictures for Upload Using FTP OPTIONAL SETTING
-
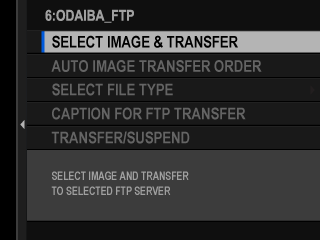
Select FTP OPTIONAL SETTING in the network/USB setting menu.
-
Choose SELECT IMAGE & TRANSFER.
-
Select TRANSFER.
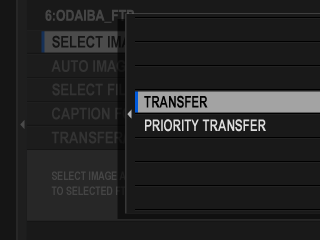
If you choose PRIORITY TRANSFER, any pictures you then select will be uploaded to the FTP server before pictures selected using TRANSFER.
-
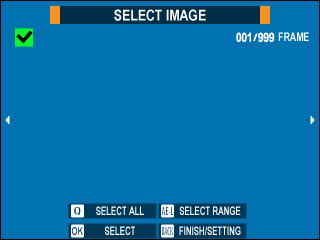
Mark pictures for upload.
Highlight pictures and press MENU/OK to mark them for upload.
- To switch to the memory card in the other slot or display only pictures that meet selected criteria, press DISP/BACK before marking begins.
- To select all pictures, press the Q button.
- Selecting any two pictures with the AEL button also selects all pictures between them.
-
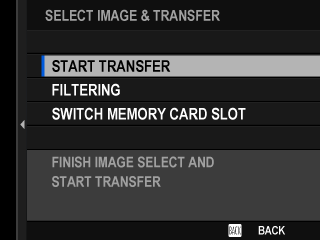
Press DISP/BACK and select START TRANSFER.
The selected pictures will be uploaded to the FTP server.
Filtering Pictures/Choosing a Slot
To switch to the memory card in the other slot or display only pictures that meet selected criteria, press DISP/BACK in the picture-selection dialog.
- To display only pictures that meet selected criteria, choose FILTERING.
- To switch to the memory card in the other slot, choose SWITCH MEMORY CARD SLOT.
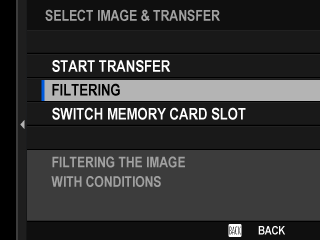
Switching slots or changing the filter criteria removes any existing upload marking.
Image transfer orders can contain a maximum of 9999 pictures.
If ON is selected for FTP OPTIONAL SETTING > IMAGE TRANSFER WHILE POWER OFF, upload will continue even while the camera is off.
Uploading Pictures as They Are Taken
Pictures taken with ON selected for FTP OPTIONAL SETTING > AUTO IMAGE TRANSFER ORDER in the network/USB setting menu are automatically marked for upload.
Selecting Pictures for Upload During Playback
If bFTP TRANSFER ORDER or cFTP PRIORITY TRANSFER ORDER is selected for DBUTTON/DIAL SETTING > aFn1 BUTTON SETTING, you can mark pictures for upload or change or remove their upload marking using the Fn1 button during playback.

 .
.

