Uploading Files via FTP
You can connect the camera to an existing FTP server and upload pictures via FTP.
- Connecting to FTP Servers
- Adjusting Settings for Connection to FTP Servers
- Uploading Pictures to FTP Servers
Connecting to FTP Servers
Connecting via Wireless LAN
Connect to an FTP server via wireless LAN.
-
Select [CREATE/EDIT CONNECTION SETTING] > [CREATE USING WIZARD] in the network/USB setting menu and choose [FTP TRANSFER].
-
Select [CREATE NEW].
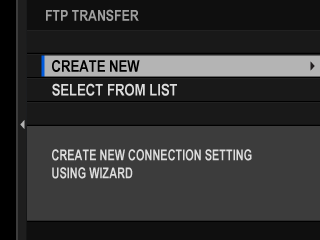
Choose [SELECT FROM LIST] to select from a list of existing connection setting profiles.
-
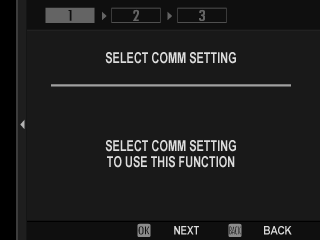
Press [MENU/OK] when prompted.
-
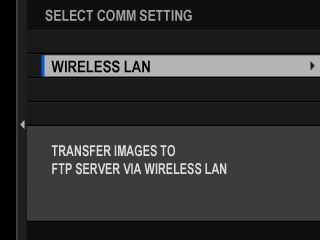
Select [WIRELESS LAN].
-
Select [CREATE NEW] to create a new communication setting profile.
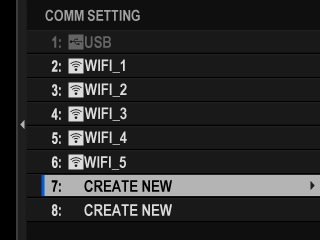
You can also select or edit existing profiles.
-
Adjust wireless LAN settings.
- [ACCESS POINT SETTING]: See “aSimple Access Point Connections”.
- [IP ADDRESS SETTING]: See “aConnecting Using an IP Address”.
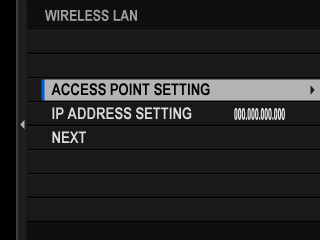
-
After adjusting wireless LAN settings, select [NEXT].
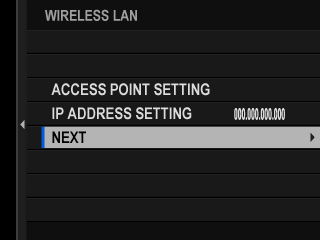
-
Name the communication setting profile.
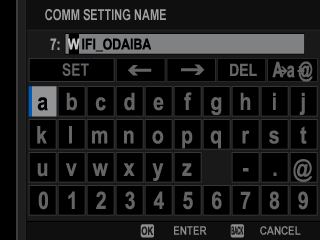
-
When prompted, press [MENU/OK] and adjust settings for connection to the FTP server (aAdjusting Settings for Connection to FTP Servers).
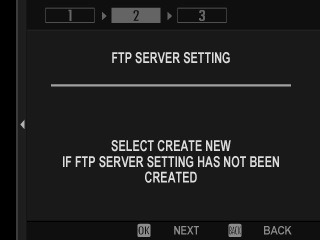
-
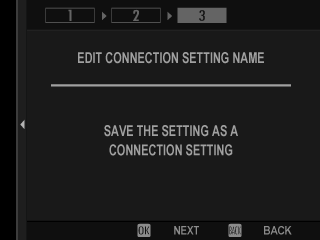
Save the connection setting profile when adjustments to settings are complete.
Press [MENU/OK].
-
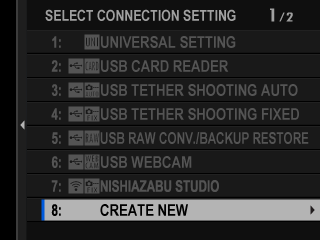
Select [CREATE NEW].
-
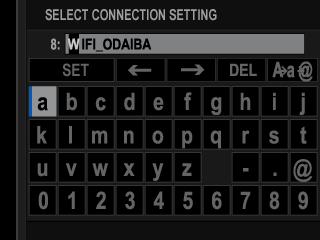
Name the connection setting profile.
-
Select [OK] to test the connection.
When a prompt is displayed stating that the test was successful, press [MENU/OK].
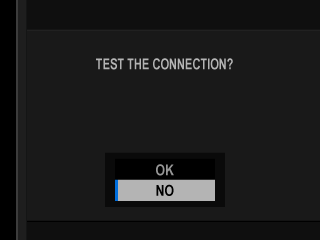
If the test ends in failure, check the communication setting profile and network settings.
-
Choose [SELECT] to finish creating the connection setting profile.
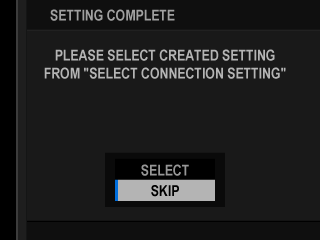
The connection setting profile can also be selected later using [SELECT CONNECTION SETTING].
-
Upload pictures to the FTP server (aUploading Pictures to FTP Servers).
Adjusting Settings for Connection to FTP Servers
Adjust settings for connection to the destination FTP server.
-
Select [CREATE NEW] in the FTP server settings display.
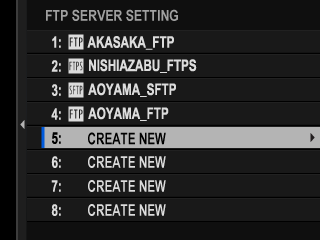
You can also select or edit existing settings.
-
Choose an FTP server type.
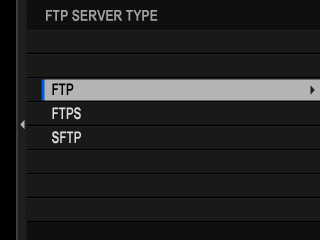
-
Enter the FTP server address.
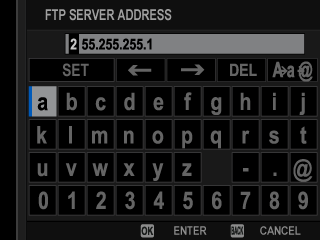
-
Enter the FTP server port number.
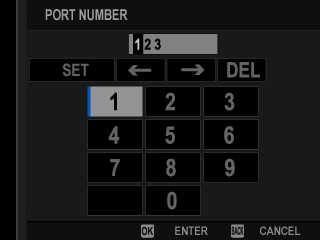
-
Choose whether to use a proxy server.
In this case we’ll choose [DISABLE].
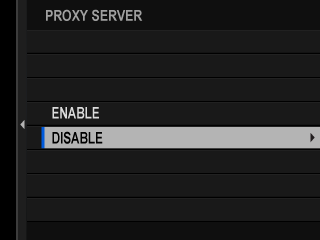
Choose [ENABLE] to enter the address and port number for a proxy server.
-
Choose whether to enable PASV mode.
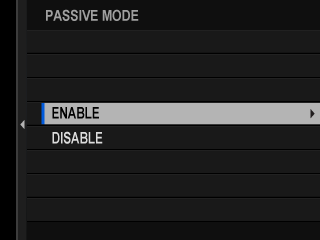
-
Select [USER NAME & PASSWORD].
Enter the user name and password used for login to the FTP server.
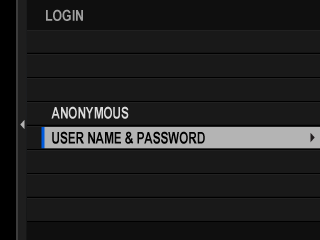
For connection to servers that do not require a user name and password, select [ANONYMOUS].
Selecting [FTPS] for [FTP SERVER TYPE] lets you choose the authentication method. If desired, you can load a self-signed root certificate using [FTP OPTIONAL SETTING] > [ROOT CERTIFICATE].
-
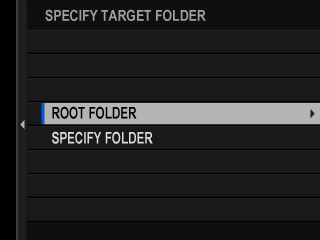
Choose the destination folder.
- Choose [ROOT FOLDER] to upload pictures to the server’s root directory.
- To select a different folder, choose [SPECIFY FOLDER].
-
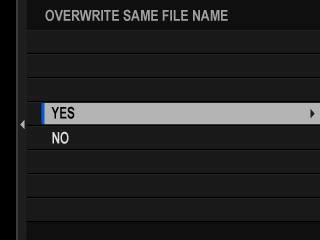
Choose the procedure used when the destination contains files with the same names as the pictures selected for upload.
- Select [YES] to overwrite the existing files.
- Select [NO] to rename the uploaded files by adding numbers at the ends of the file names (e.g., “DSCF0001_(0).JPG”).
-
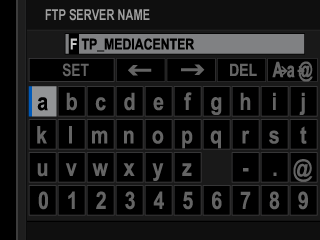
Name the FTP server settings.
The chosen name will appear in the FTP server list.
Uploading Pictures to FTP Servers
Select pictures for upload to an FTP server.
- Selecting Pictures for Upload Using [FTP OPTIONAL SETTING]
- Uploading Pictures as They Are Taken
- Selecting Pictures for Upload During Playback
Images are not transferred when the camera is in video shooting mode.
Selecting Pictures for Upload Using [FTP OPTIONAL SETTING]
-
Select [FTP OPTIONAL SETTING] in the network/USB setting menu.
-
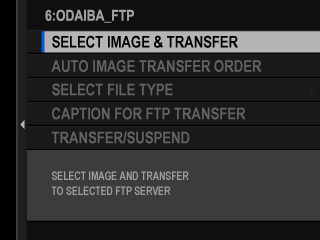
Choose [SELECT IMAGE & TRANSFER].
-
Select [TRANSFER].
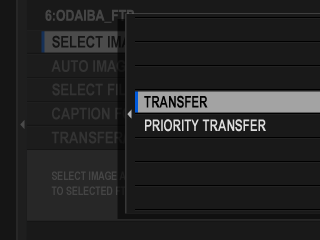
If you choose [PRIORITY TRANSFER], any pictures you then select will be uploaded to the FTP server before pictures selected using [TRANSFER].
-
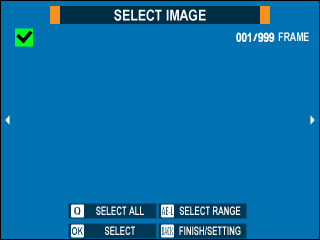
Mark pictures for upload.
Highlight pictures and press [MENU/OK] to mark them for upload.
- To switch to the memory card in the other slot or display only pictures that meet selected criteria, press [DISP/BACK] before marking begins.
- To select all pictures, press the [Q] button.
- Selecting any two pictures with the [AEL] button also selects all pictures between them.
-
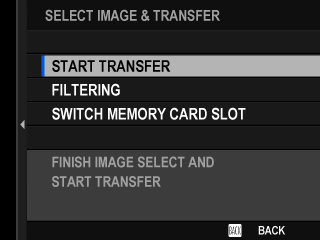
Press [DISP/BACK] and select [START TRANSFER].
The selected pictures will be uploaded to the FTP server.
Filtering Pictures/Choosing a Slot
To switch to the memory card in the other slot or display only pictures that meet selected criteria, press [DISP/BACK] in the picture-selection dialog.
- To display only pictures that meet selected criteria, choose [FILTERING].
- To switch to the memory card in the other slot, choose [SWITCH MEMORY CARD SLOT].
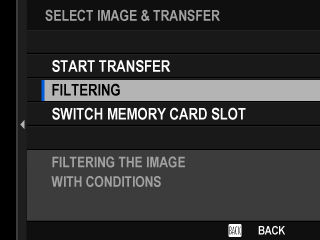
Switching slots or changing the filter criteria removes any existing upload marking.
Image transfer orders can contain a maximum of 9999 pictures.
If [ON] is selected for [FTP OPTIONAL SETTING] > [IMAGE TRANSFER WHILE POWER OFF], upload will continue even while the camera is off.
Uploading Pictures as They Are Taken
Pictures taken with [ON] selected for [FTP OPTIONAL SETTING] > [AUTO IMAGE TRANSFER ORDER] in the network/USB setting menu are automatically marked for upload.
Selecting Pictures for Upload During Playback
If b[FTP TRANSFER ORDER] or c[FTP PRIORITY TRANSFER ORDER] is selected for D[BUTTON/DIAL SETTING] > a[Fn1 BUTTON SETTING], you can mark pictures for upload or change or remove their upload marking using the [Fn1] button during playback.

 .
.

