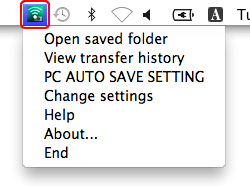
To display the menus, click the  icon in the taskbar (Windows) or menu bar (macOS/OS X/Mac OS X).
FUJIFILM PC AutoSave offers the following menu options.

Follow the steps below if you are unable to connect using WPS. The camera will be registered with the FUJIFILM PC AutoSave computer application, allowing it to connect to the computer via a wireless network.
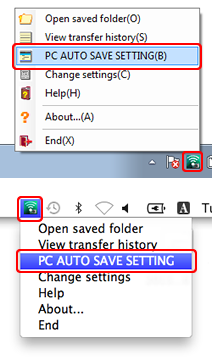
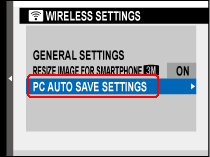
Click the icon in the taskbar (Windows) or menu bar (macOS/OS X/Mac OS X) and select PC AUTO SAVE SETTING.
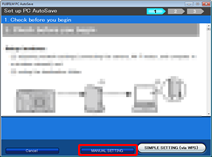
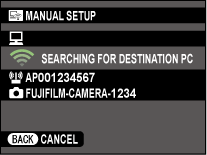
Click MANUAL SETTING.
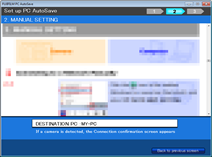
The “MANUAL SETTING” dialog will be displayed.
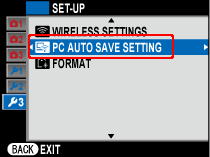
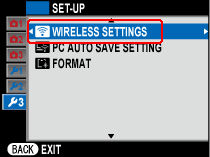
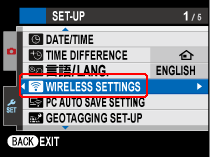
Turn the camera on, highlight  PC AUTO SAVE SETTING in the setup menu, and press
  .
.
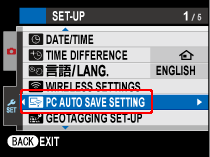
The menus displayed on your camera may differ from those shown here.
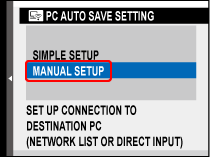
Highlight MANUAL SETUP and press .
Proceed to Step A to choose from a list of available networks, Step B to manually enter the network SSID.
A Choosing a Wi-Fi Router
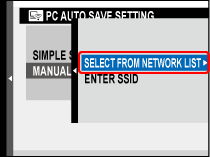
Highlight SELECT FROM NETWORK LIST and press .
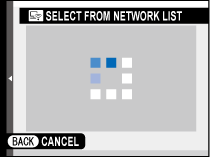
The camera will begin searching for Wi-Fi networks.
If no networks are detected, the camera will display an error and return to shooting or playback.
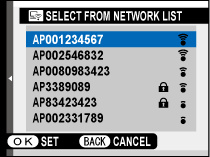
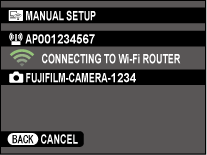
Highlight a network and press .

A  icon indicates that the network requires a password. After entering the password, highlight SET and press .
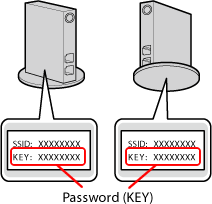
For more information on the password, see the documentation provided with the router. A default password could also be found on sides of the router.
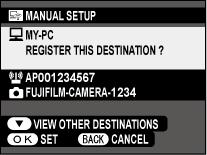
Connecting to computer
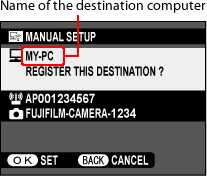
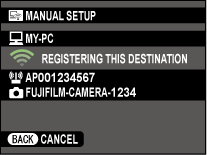
Check the name of the destination computer and press .
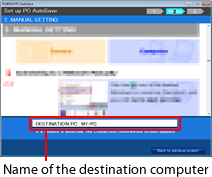
The name of the computer will appear in the “DESTINATION PC” text box.
If the computer name uses non-ASCII characters, the computer software will choose the name.
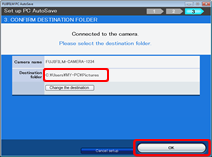
Check the destination folder and click OK.
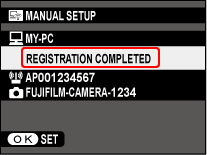
Destination saved
A message will be displayed when the destination is saved. Press to exit to shooting or playback.
Each camera can be configured for use with up to six computers at a time.
If multiple computers are detected in Step A-3, press the selector down to scroll through the list.
At default settings, pictures are saved to the following destination folder:
Windows
\Users\(your user name)\Pictures
macOS/OS X/Mac OS X
/Users/(your user name)/Pictures
For information on choosing a different folder, see “Change destination folder”.
A maximum of ten cameras can be registered with the FUJIFILM PC AutoSave computer application.
The computer will add the camera and launch the web browser, where instructions for actually saving photographs and movies will be displayed.
B Entering the Network SSID
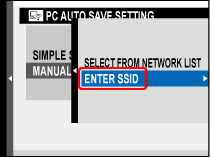
Highlight ENTER SSID and press .
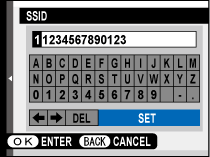
Enter the SSID. Highlight SET and press when entry is complete.

For more information on SSID and its password, see the documentation provided with the router. Default values for SSID and its password could also be found on sides of the router.
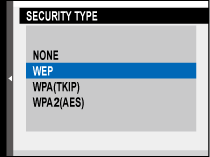
Highlight the type encryption used by the network and press .
Enter the password. When entry is complete, highlight SET and press .
Connecting to computer
Check the name of the destination computer and press .
The name of the computer will appear in the “DESTINATION PC” text box.
If the computer name uses non-ASCII characters, the computer software will choose the name.
Check the destination folder and click OK.
Destination saved
A message will be displayed when the destination is saved. Press to exit to shooting or playback.
Each camera can be configured for use with up to six computers at a time.
If multiple computers are detected in Step B-5, press the selector down to scroll through the list.
At default settings, pictures are saved to the following destination folder:
Windows
\Users\(your user name)\Pictures
macOS/OS X/Mac OS X
/Users/(your user name)/Pictures
For information on choosing a different folder, see “Change destination folder”.
A maximum of ten cameras can be registered with the FUJIFILM PC AutoSave computer application.
The computer will add the camera and launch the web browser, where instructions for actually saving photographs and movies will be displayed.

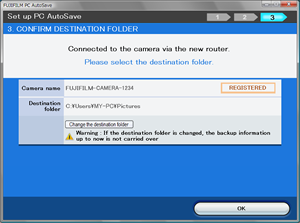
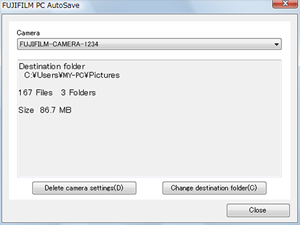
To adjust network settings or choose a new destination folder, select PC AUTO SAVE SETTING in the FUJIFILM PC AutoSave menu. After connecting via a new Wi-Fi router, check the camera name and destination folder in the dialog shown.

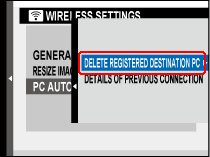
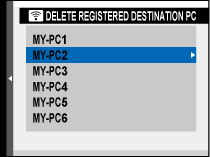
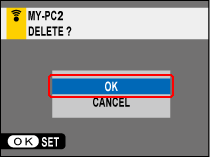
Follow the steps below to remove destinations from the camera.
The menus displayed on your camera may differ from those shown here.

The camera may display any of the following error messages.